
How to Make DIY Kalimba Tine Stickers
Kalimba Tine Stickers are helpful because they allow you to label the tines, making it easier to read especially if you’re playing the Kalimba under the sun. If your Kalimba didn’t come with their own Tine Stickers, you can print your own!

Download Tine Stickers. Make sure you have the file of the tine stickers that you want downloaded and ready to print.
You can browse for Tine Stickers here

2. Print out the Tine Stickers. Load the printer with sticker paper and print out the downloaded file.
You can print the stickers on regular paper first to check if the size of the stickers are correct and adjust it accordingly.
You can also use different types of sticker paper like glossy or matte, depending on your preference.

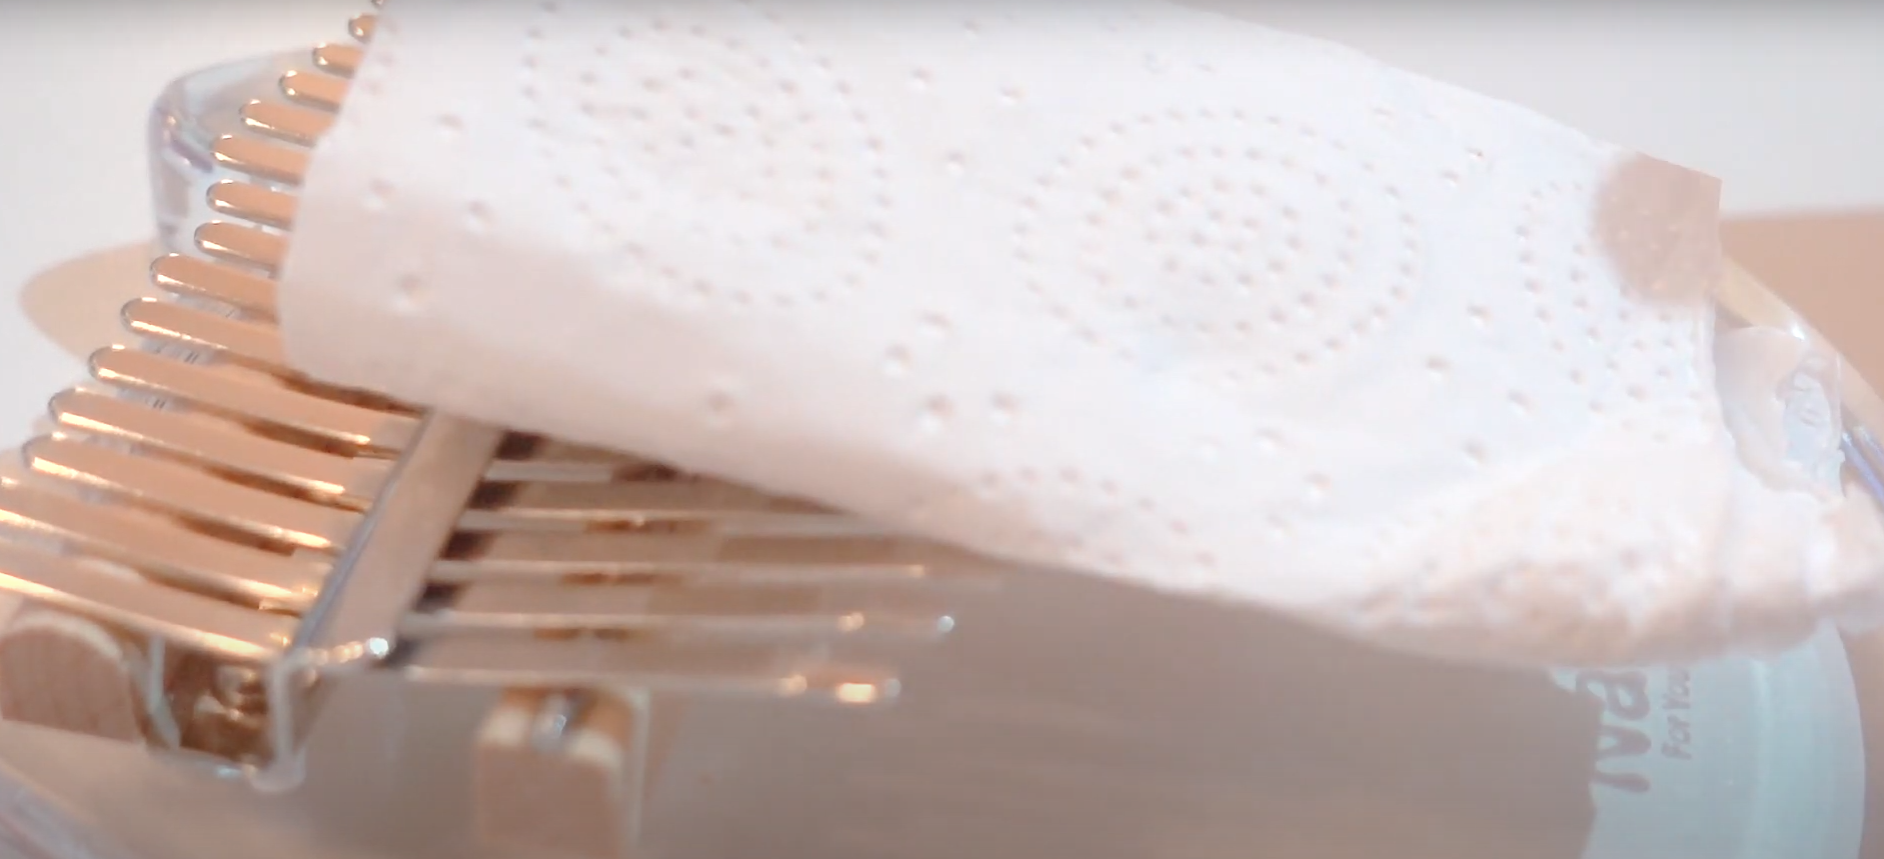
3. Cut out the stickers. Follow the outline of the stickers and cut around them, they should look like the image above.
4. Clean the Kalimba Tines. Wipe the Kalimba tines to make sure they are free of dust/ dirt so that the stickers can be properly placed.
If the Tines have residue from previous stickers, then you can remove them using oil and a cloth.

5. Place the Tine Stickers. Once the tines are clean, paste the stickers onto the corresponding tines.
You can follow a template of notes of the tines to make sure you are placing the stickers on the correct tines

Your Kalimba Tines should look like this in the end
